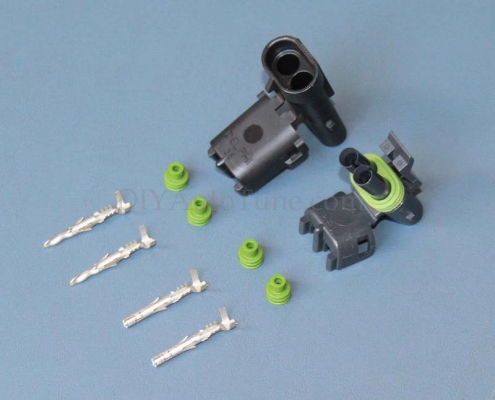
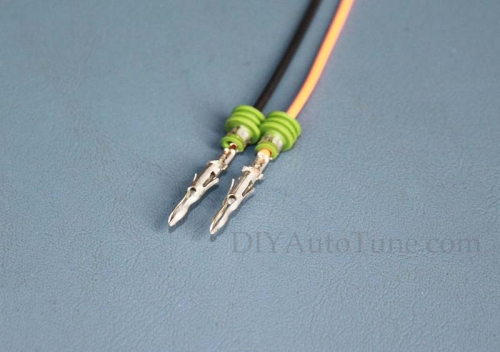
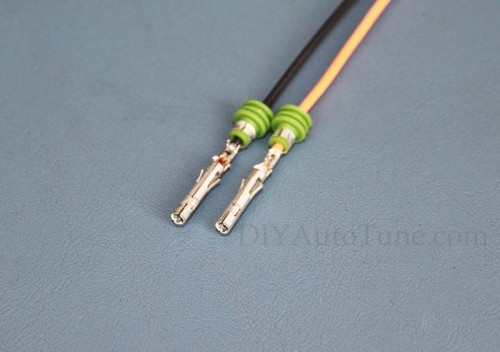
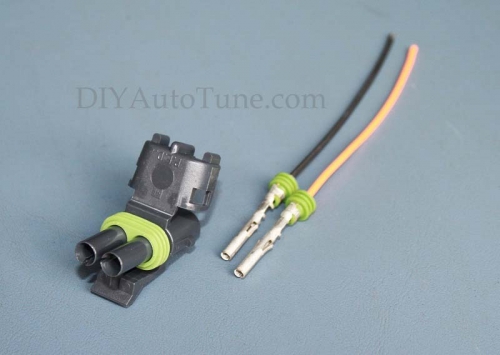
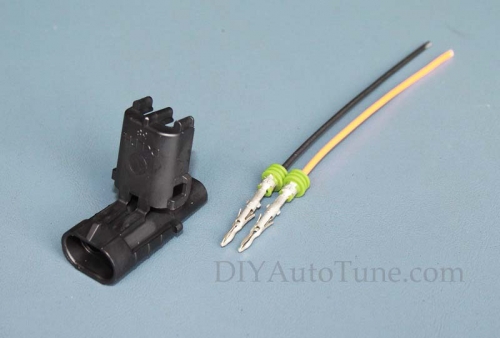
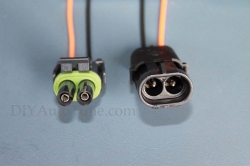
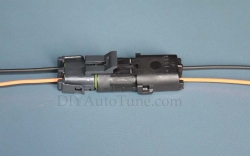
What really makes these Weather Pack kits better?
Posted on 28. Mar, 2010 by admin in Tech Articles
Many Weather Pack connector kits tend to have a “one size fits all” mentality, meaning they give you one size terminal and seal, typically 14-16ga, and they tell you it will work for 12-18ga. And while it will work in many cases, it’s less than ideal, and less than ideal is NOT what you want in your vehicles wiring. Another situation we ran into with other kits was that the vendor will give you a certain number of connectors, but not enough terminals to use them all, you’ll run out of pins and still have half of your housings left! They’ll be glad to sell you ‘refill kits’ though so you can use the rest of the connectors in your original kit! (why didn’t they just give you enough to begin with?)
One size does not fit all! You need a proper fit for your 20-18 gauge wire, 16-14 gauge wire, and 12 gauge wire. In our kits you receive all 3 sizes of terminal pins and seals, we even throw in extras (more terminals than you need) just in case you have a crimp that isn’t perfect and needs to be recrimped as we realize that happens from time to time. So when you finish with our kit, you’re likely to have a few extra terminals left over, but you’ll utilize every connector you paid for. On top of this, we offer more pieces (larger kits) at a better price that any other offerings we’ve found.
It’s the best weatherpack connector kit available anywhere. And at killer prices.
If you’d like to check out our Weatherpack Connector Kit offerings, click here: WeatherPack Connectors.
How do I properly crimp and assemble my Weather Pack Connectors?
Posted on 25. Mar, 2010 by admin in Tech Articles
Check out the attached photo gallery for a detailed look at how to properly crimp and assembly Delphi Weather Pack (aka weatherpack) connectors. Click on the first image below to begin, and then just click the arrows (right) to continue through the gallery. Each image has accompanying text at the bottom describing each step in detail.
If you’d like to check out our Weatherpack Connector Kit offerings, click here.
Are all WeatherPack crimping tools created equal?
Posted on 24. Mar, 2010 by admin in Tech Articles
No they are definitely not. We tried and tried to find a super-cheap crimper (sub-$40) that would do the job right, with our hope being that we could offer a crimper for less than $30-40 that might be a little less convenient to use, but would crimp properly. We purchased and tested several models, including a couple that promised ‘a perfect crimp every time’, and in at least one case the die wasn’t even shaped right to crimp Weather Pack terminals properly, though that was the sole purpose of the crimper supposedly. In the end, we decided the cheap crimper that worked properly just didn’t exist. You can likely get by with one of these in some cases, but it WILL effect the quality of your crimps. So instead of offering my customers a tool I would never use myself, we found an extremely high quality tool that makes it easy, and we priced it just a tiny bit above our cost. We don’t make much on these, but you get a tool that helps you do the job right, and that’s important to us.
Here’s what you’re looking for in a good Weather Pack crimping tool:
1) Proper shape of the crimping dies.
The die that crimps the conductor should be ‘w’ or ‘m’ shaped (depending on how you’re holding the tool)
The die that crimps the seal over the wire insulator should be rounded.
2) Crimps both the conductor and the seal at same time
There are two separate crimps to make, one for the wire conductor, and another to hold the seal in place. A good tool will complete both of these operations in one motion.
3) Has a proper Terminal Positioning Block to ensure you crimp the terminal just right
Without the Terminal Positioning Block you’ll likely wish you had a third hand to try and hold the terminal in the proper position while also holding the seal in place and operate the tool at the same time. With this piece your crimps will be MUCH easier and you’ll have a much higher success rate.
4) Racheting mechanism to ensure proper crimp pressure
This will ensure that you’ve crimped hard enough, but not too hard, getting the crimp pressure on the terminal just right.
We’re happy to offer a tool that meets all of the above requirements, and truly gives you an honest shot at getting ‘a perfect crimp every time’. Others promise this, but this tool can deliver it.
You can click here to check out and/or purchase the high quality crimping tool we recommend.
Weather Pack Connector Housing and Terminal Indentification
Posted on 23. Mar, 2010 by weatherpacknumber1 in Tech Articles
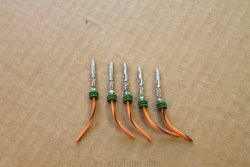
In this article we are going to cover the different parts that make up a complete Weather Pack connector and the proper name of each piece. We will be identifying the male terminals, female terminals, tower housings, and shroud housings. Every terminal will have a rubber seal installed. These seals are not gender specific, however there are different sized seals for different gauge wires. The assembled Weather Pack, consisting of housings, terminals, rubber seals, and wires, will then be referred to as the connector.
It is helpful to use the correct terminology, especially if technical support is needed or if attempting to follow write ups or instructions.
Usually when a complete connector is referred to as being male or female, it is the terminals that are used to decide the gender rather than the connector housing.
As can bee seen above, the male terminals that are used in the Weather Pack have a sharp pointed end.
The female terminals have the open round end.
Referring to the housings and not the terminals, the tower would be considered the male housing and has the rubber seal in place.
The shroud is the female housing.
The Weather Pack connectors can be assembled with either the male or female terminals in either the tower or shroud housings, either terminal will snap into either housing. The standard assembly is to use a male terminal in the shroud and a female terminal in the tower, as pictured above.
The Proper Tool for the Job
Posted on 22. Mar, 2010 by weatherpacknumber1 in Tech Articles
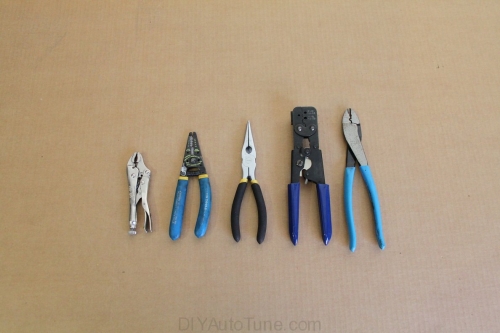
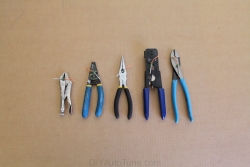
Often you can get away with a tool for a job it wasn’t intended for, producing a similar result as if the proper tool was used in the first place. A screwdriver can be used instead of a seal puller for axle seals or a rear main, wrenches can be doubled up instead of a breaker bar for a tough fastener. It can be difficult to achieve a strong, reliable crimp on a Weather Pack terminal without the use of a proper crimping tool.
We will try to make some crimps with various tools around the shop here and compare them to the crimp from a proper ratcheting Weather Pack crimper. I followed the same general method with all tools except the Weather Pack crimpers.
Lets start off with some small Vice-Grips.
The Vice-Grips as used in the images above were a bit difficult to use. I found them best when adjusted so I could find a good balance point right before they locked down. I found myself going back and forth between multiple angles trying to make each of the four crimps just right. I would say I needed to tweak each of the four areas (two seal tabs and two wire crimps) at least five or six times each!!
Next up I tried a set of high-end crimping pliers.
These crimping pliers used above weren’t all that bad to use due to the various shaped areas available to squash the terminal inside of. The same remains, I again needed to bend and tweaked each of the four areas at least fire or six times each.
Third I tried a pair of wire strippers. This may not be what most people reach for to crimp terminals, but these aren’t normal crimp terminals either.
This process was nearly identical to the Vice-Grips as I was only really able to use the end nose of this tool to shape the terminal.
Needle nose pliers are up next.
Not much difference to report here with the needle nose as seen above. Since they had a smaller nose tip they were able to shape the seal tabs a bit better than other tools, yet I still needed to hit each of the four crimp areas multiple times to achieve a finished product.
Finally come the ratcheting Weather Pack crimpers.
This was a night and day difference to every tool I tried. Insert the terminal into the pliers, lay your wire and seal combo in the appropriate location, crimp, done!
In the terminal comparison picture above, the Weather Pack crimp is on the left with the wire bent opposite all the others.
I was surprised I didn’t butcher the terminals more than I did when not using the ratcheting Weather Pack crimper. I did, however, take my time on each one (several minutes per terminal) to do the best I could with each tool. Once you have a good rhythm down, a good crimp with the ratcheting Weather Pack crimpers can take as little as 20 seconds. Add up all the terminals you’d be crimping if you’re building out a complete harness. The time wasted when not using the correct tool for the job would be huge!!
How to Remove Terminals from Housings.
Posted on 21. Mar, 2010 by weatherpacknumber1 in Tech Articles
In this article we will cover how to remove a Weather Pack terminal from a housing. There is a special tool included with both the 460 and 755 piece Weather Pack kits that will allow you to do this easily.
Above is a complete Weather Pack connector and the terminal removal tool.
Here we see inside these housings that the terminals are reversed from that of a standard Weather Pack assembly. The male terminals should go into the shroud housing and the female terminals should go into the tower housing. Let’s see if we can correct this.
Start by opening the rear section of each housing.
Insert the terminal removal tool down over each terminal all the way until it won’t go any farther.
With the terminal removal tool held firmly all the way into the housing, pull the terminal and wire combo out the opposite side.
Continue the same process for all the terminals that need to be removed.
After removing the terminals, I installed them all into the correct housing.
Let’s have a closer look at how this tool works.
Here we see the terminal removal tool paired up with a female Weather Pack terminal. Notice the metal tangs on the terminal. These are what lock the terminals into the housings.
They look very close in size but the tool is just slightly larger than the terminal, allowing it to slip over top.
Notice in this image above that the tool has been slid down over the metal tangs. By pressing the tangs in, the terminal is then free to be removed.


