Weather Pack Connector Housing and Terminal Indentification
Posted on 23. Mar, 2010 by weatherpacknumber1 in Tech Articles
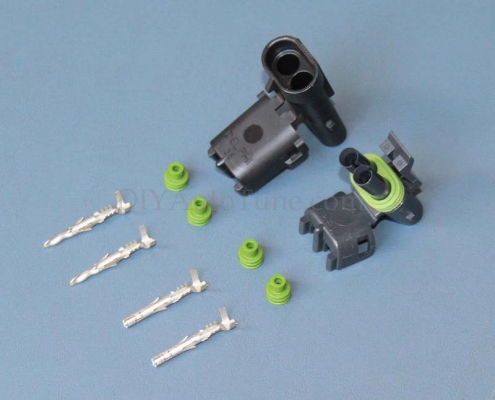
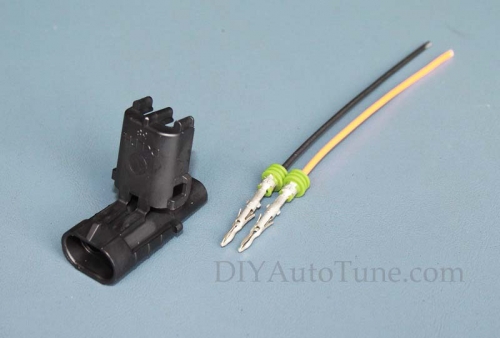
In this article we are going to cover the different parts that make up a complete Weather Pack connector and the proper name of each piece. We will be identifying the male terminals, female terminals, tower housings, and shroud housings. Every terminal will have a rubber seal installed. These seals are not gender specific, however there are different sized seals for different gauge wires. The assembled Weather Pack, consisting of housings, terminals, rubber seals, and wires, will then be referred to as the connector.
It is helpful to use the correct terminology, especially if technical support is needed or if attempting to follow write ups or instructions.
Usually when a complete connector is referred to as being male or female, it is the terminals that are used to decide the gender rather than the connector housing.
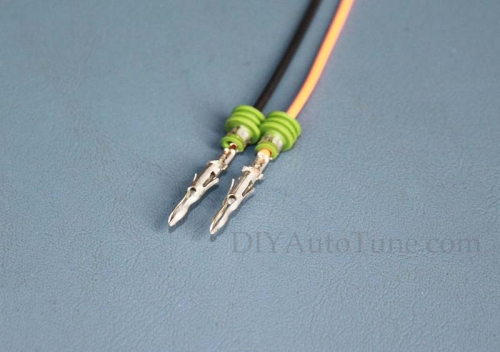
As can bee seen above, the male terminals that are used in the Weather Pack have a sharp pointed end.
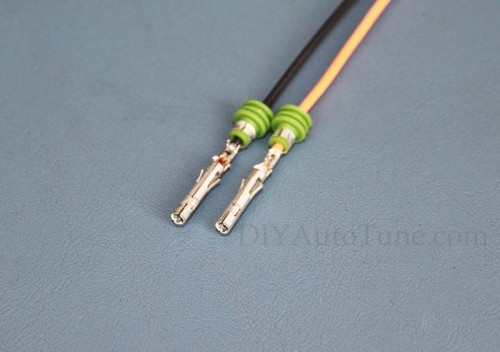
The female terminals have the open round end.
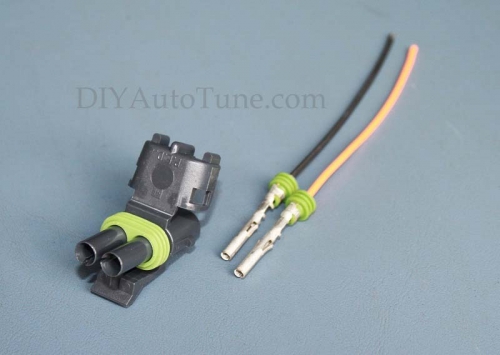
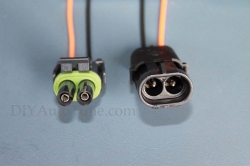
Referring to the housings and not the terminals, the tower would be considered the male housing and has the rubber seal in place.
The shroud is the female housing.
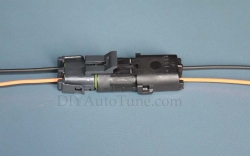
The Weather Pack connectors can be assembled with either the male or female terminals in either the tower or shroud housings, either terminal will snap into either housing. The standard assembly is to use a male terminal in the shroud and a female terminal in the tower, as pictured above.
The Proper Tool for the Job
Posted on 22. Mar, 2010 by weatherpacknumber1 in Tech Articles
Often you can get away with a tool for a job it wasn’t intended for, producing a similar result as if the proper tool was used in the first place. A screwdriver can be used instead of a seal puller for axle seals or a rear main, wrenches can be doubled up instead of a breaker bar for a tough fastener. It can be difficult to achieve a strong, reliable crimp on a Weather Pack terminal without the use of a proper crimping tool.
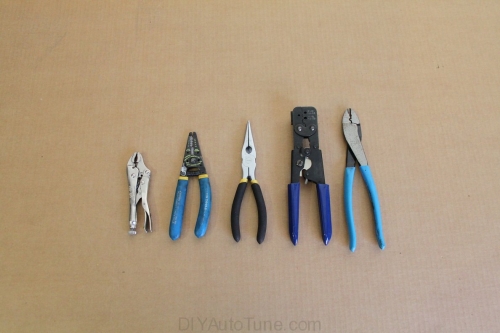
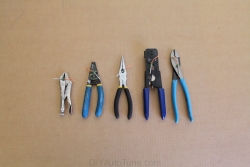
We will try to make some crimps with various tools around the shop here and compare them to the crimp from a proper ratcheting Weather Pack crimper. I followed the same general method with all tools except the Weather Pack crimpers.
Lets start off with some small Vice-Grips.
The Vice-Grips as used in the images above were a bit difficult to use. I found them best when adjusted so I could find a good balance point right before they locked down. I found myself going back and forth between multiple angles trying to make each of the four crimps just right. I would say I needed to tweak each of the four areas (two seal tabs and two wire crimps) at least five or six times each!!
Next up I tried a set of high-end crimping pliers.
These crimping pliers used above weren’t all that bad to use due to the various shaped areas available to squash the terminal inside of. The same remains, I again needed to bend and tweaked each of the four areas at least fire or six times each.
Third I tried a pair of wire strippers. This may not be what most people reach for to crimp terminals, but these aren’t normal crimp terminals either.
This process was nearly identical to the Vice-Grips as I was only really able to use the end nose of this tool to shape the terminal.
Needle nose pliers are up next.
Not much difference to report here with the needle nose as seen above. Since they had a smaller nose tip they were able to shape the seal tabs a bit better than other tools, yet I still needed to hit each of the four crimp areas multiple times to achieve a finished product.
Finally come the ratcheting Weather Pack crimpers.
This was a night and day difference to every tool I tried. Insert the terminal into the pliers, lay your wire and seal combo in the appropriate location, crimp, done!
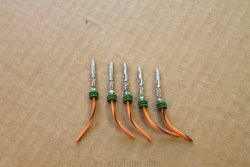
In the terminal comparison picture above, the Weather Pack crimp is on the left with the wire bent opposite all the others.
I was surprised I didn’t butcher the terminals more than I did when not using the ratcheting Weather Pack crimper. I did, however, take my time on each one (several minutes per terminal) to do the best I could with each tool. Once you have a good rhythm down, a good crimp with the ratcheting Weather Pack crimpers can take as little as 20 seconds. Add up all the terminals you’d be crimping if you’re building out a complete harness. The time wasted when not using the correct tool for the job would be huge!!
How to Remove Terminals from Housings.
Posted on 21. Mar, 2010 by weatherpacknumber1 in Tech Articles
In this article we will cover how to remove a Weather Pack terminal from a housing. There is a special tool included with both the 460 and 755 piece Weather Pack kits that will allow you to do this easily.
Above is a complete Weather Pack connector and the terminal removal tool.
Here we see inside these housings that the terminals are reversed from that of a standard Weather Pack assembly. The male terminals should go into the shroud housing and the female terminals should go into the tower housing. Let’s see if we can correct this.
Start by opening the rear section of each housing.
Insert the terminal removal tool down over each terminal all the way until it won’t go any farther.
With the terminal removal tool held firmly all the way into the housing, pull the terminal and wire combo out the opposite side.
Continue the same process for all the terminals that need to be removed.
After removing the terminals, I installed them all into the correct housing.
Let’s have a closer look at how this tool works.
Here we see the terminal removal tool paired up with a female Weather Pack terminal. Notice the metal tangs on the terminal. These are what lock the terminals into the housings.
They look very close in size but the tool is just slightly larger than the terminal, allowing it to slip over top.
Notice in this image above that the tool has been slid down over the metal tangs. By pressing the tangs in, the terminal is then free to be removed.


